Koi Fish Drawing
Browse 24 koi fish drawing references on clean white paper, from five-minute top-down outlines to twin yin-yang pairs and traditional Japanese motifs. Follow the five individual step cards below to master the C-curved spine, then pick a sketch to copy right away.
How to Draw a Koi Fish in 5 Steps
Follow these five individual step cards to draw a swimming koi from a single curved line. Take your time on the first curve, since it controls the flow of the entire body.
-
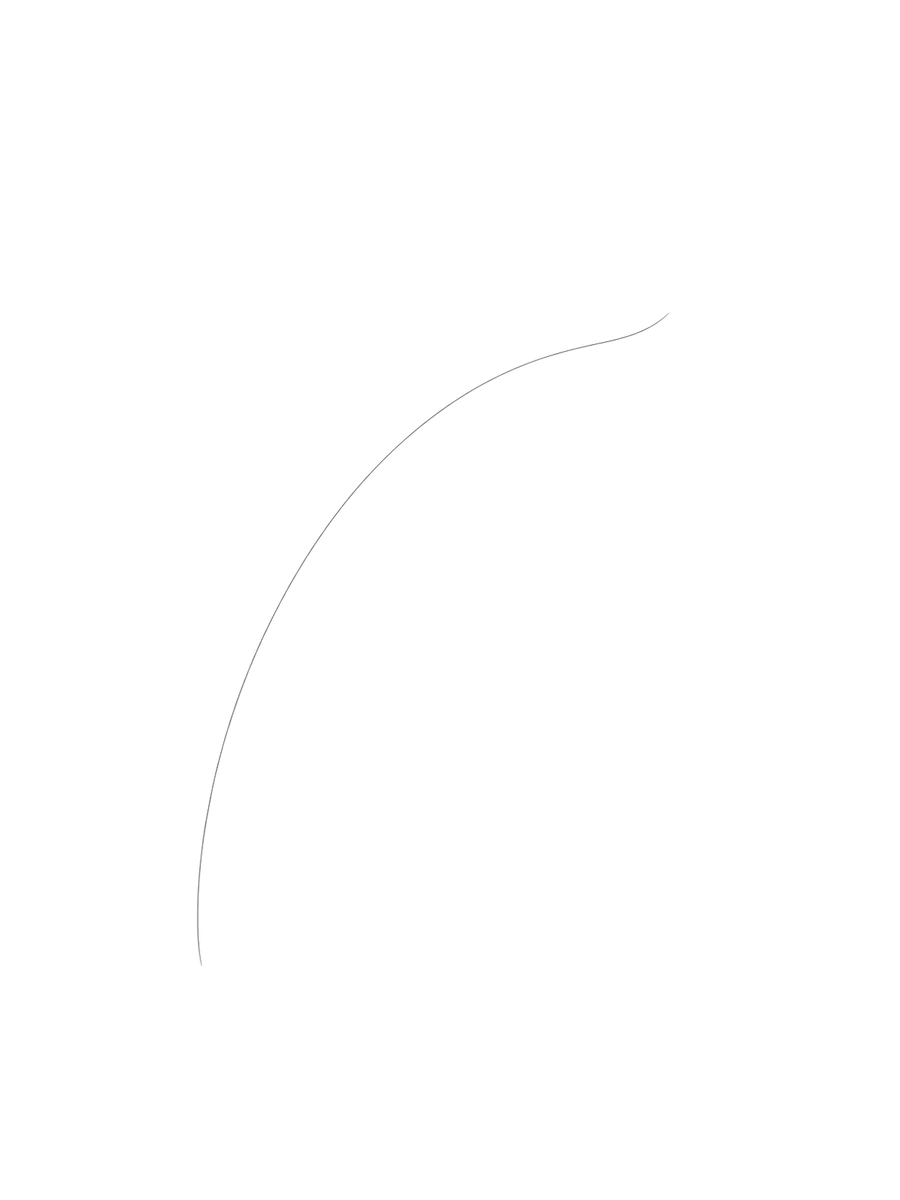 1. Draw a C-Shaped Spine: Sketch a smooth, open C-curve on the page to set the swimming path. (Common mistake: making the curve too tight, which leaves no room for the tail.)Step 1: Single C-curve spine line
-
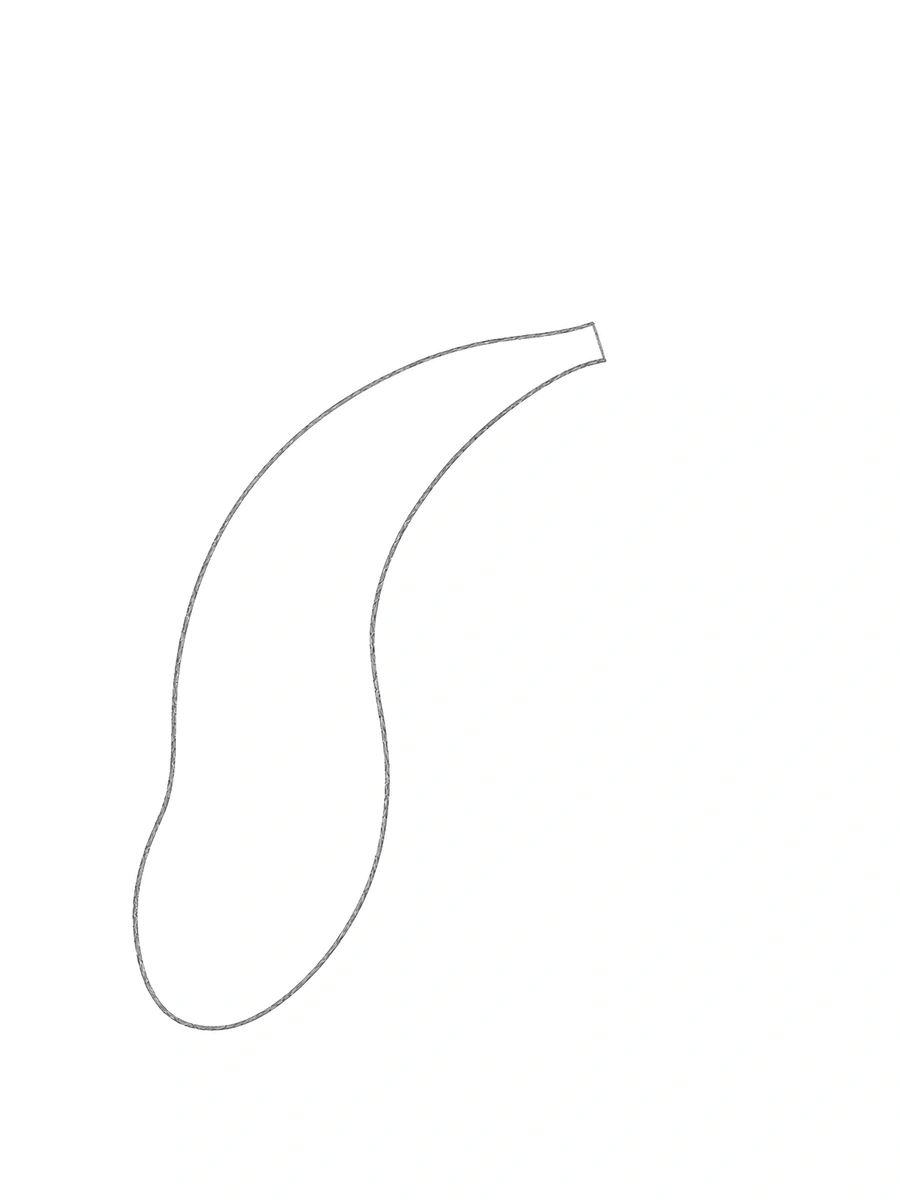 2. Shape the Tapered Body: Draw a rounded head at the front of the curve and narrow the body smoothly toward the back. (Common mistake: keeping the waist as wide as the head, which makes the fish look stiff.)Step 2: Rounded head tapering along the spine
-
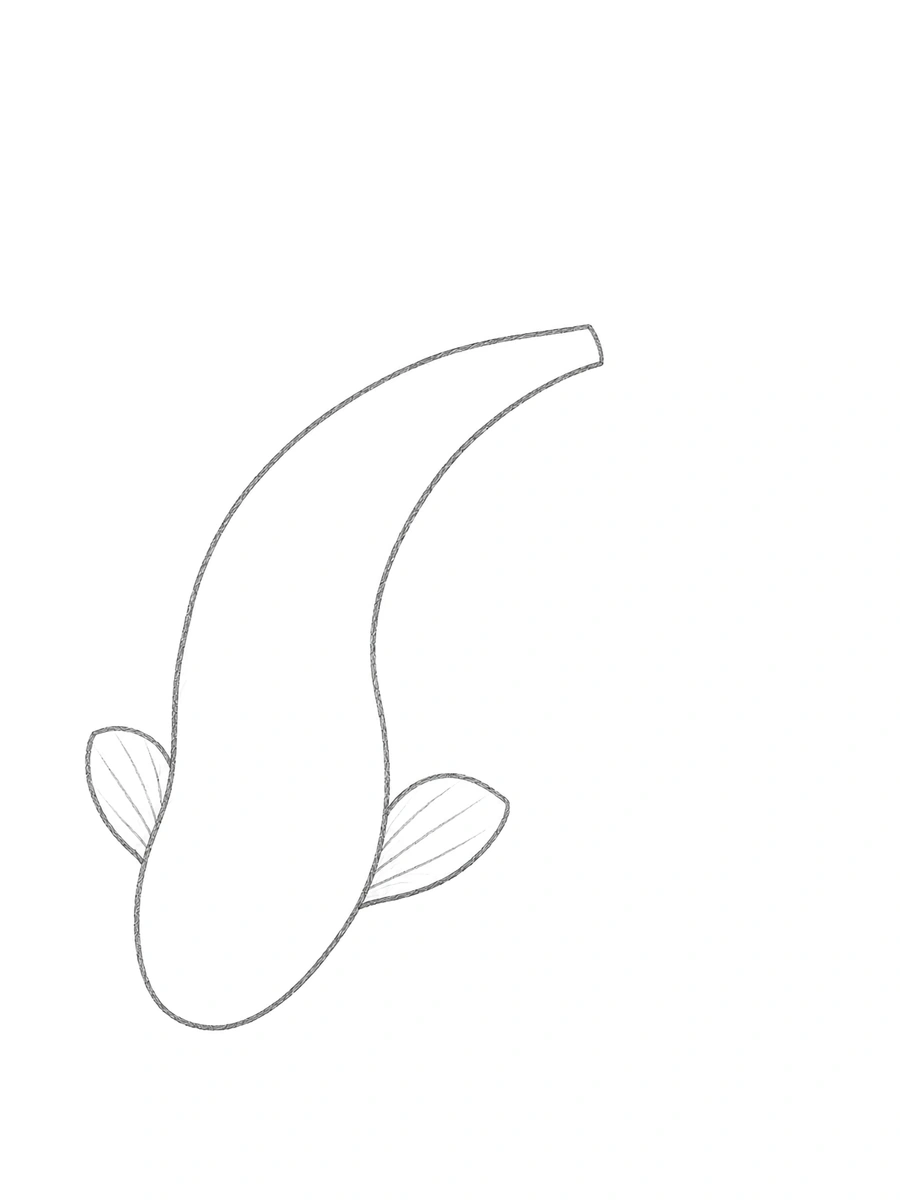 3. Add Flowing Pectoral Fins: Sketch two wide, wing-like side fins flaring outward right behind the head. (Common mistake: drawing tiny triangle fins instead of broad, curved fans.)Step 3: Wide pectoral fins attached to the body
-
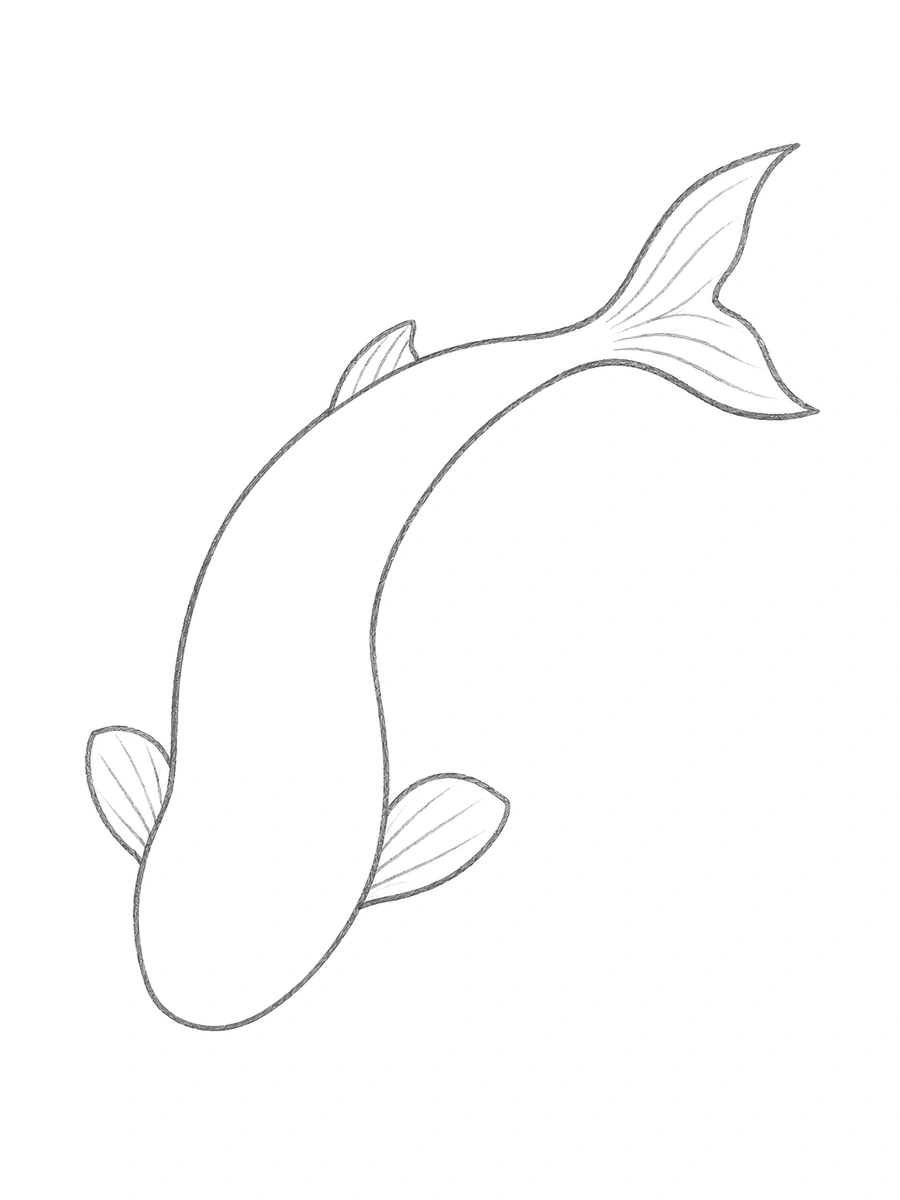 4. Sketch the Tail and Dorsal Fin: Attach a soft, translucent fan tail at the narrow end and run a thin ribbon fin along the center spine. (Common mistake: drawing the dorsal fin straight instead of following the spine curve.)Step 4: Fan tail and curved dorsal fin
-
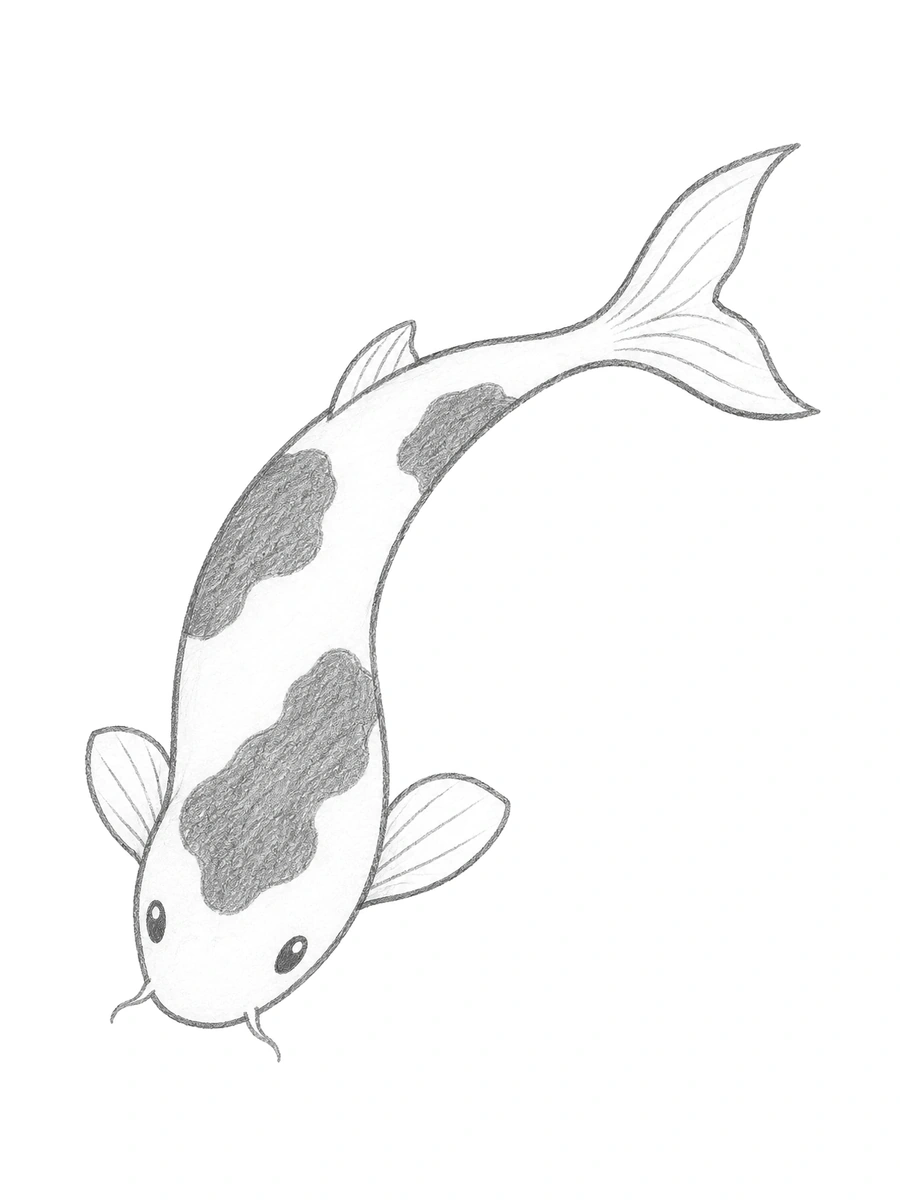 5. Add Whiskers and Markings: Place two small barbels near the mouth, dot the eyes on the sides of the head, and block in bold calico spots. (Common mistake: shading every scale instead of leaving bright white space between spots.)Step 5: Finished koi with barbels, eyes, and calico spots
Easy Koi Fish Drawings
Start with clean top-down silhouettes and minimal scale lines if you want an easy koi fish drawing you can finish in minutes. For younger kids and first-time sketchers, begin with a simple oval body and a triangle tail before softening the edges into smooth curves.
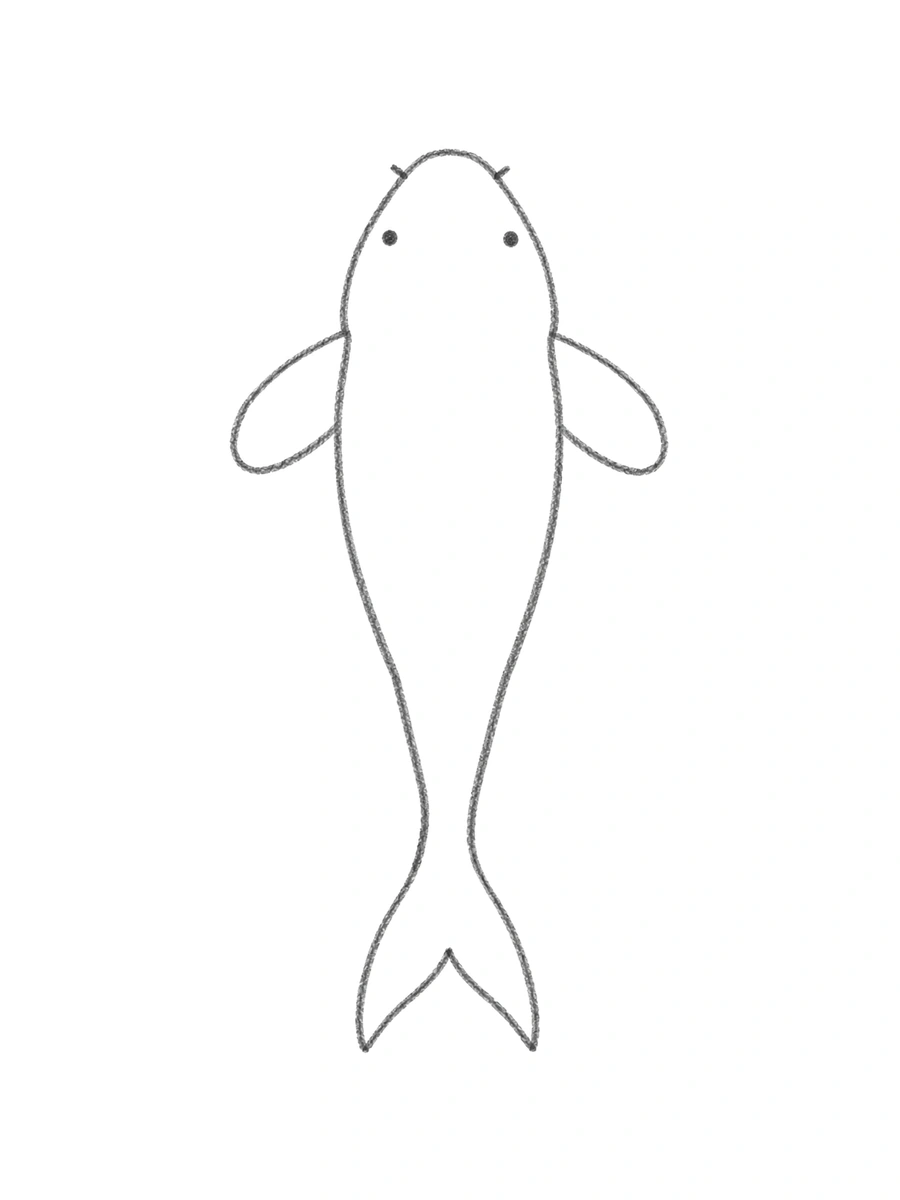
Top-View Koi Outline
EasyCurve a single spine guide first, wrap a tapered teardrop body around it, and add two rounded pectoral fins near the head.
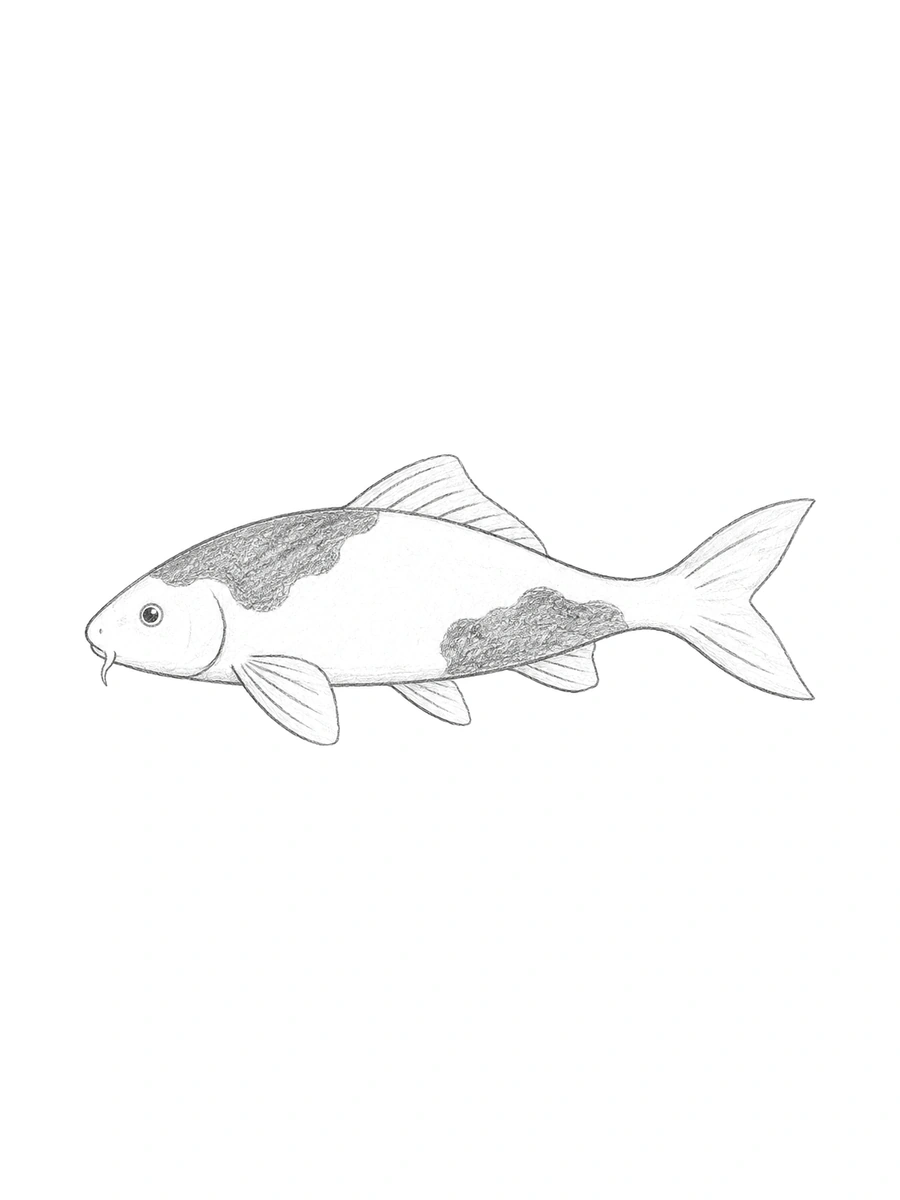
Side-Profile Spotted Koi
EasyArch the upper back slightly higher than the belly and shade two soft graphite patches across the flank.
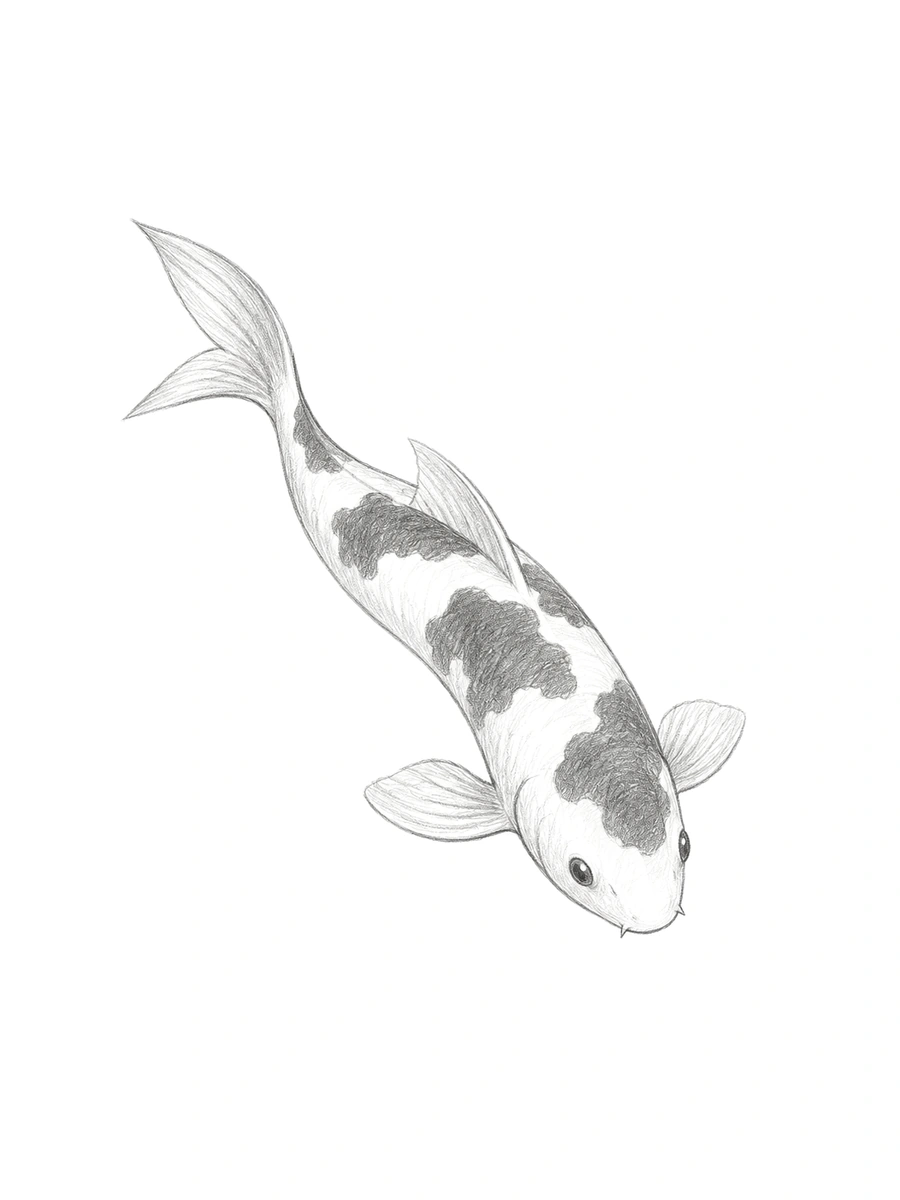
Diagonal S-Curve Koi
EasyLet the body follow a gentle diagonal S-curve and tuck two short barbel whiskers right beside the mouth.
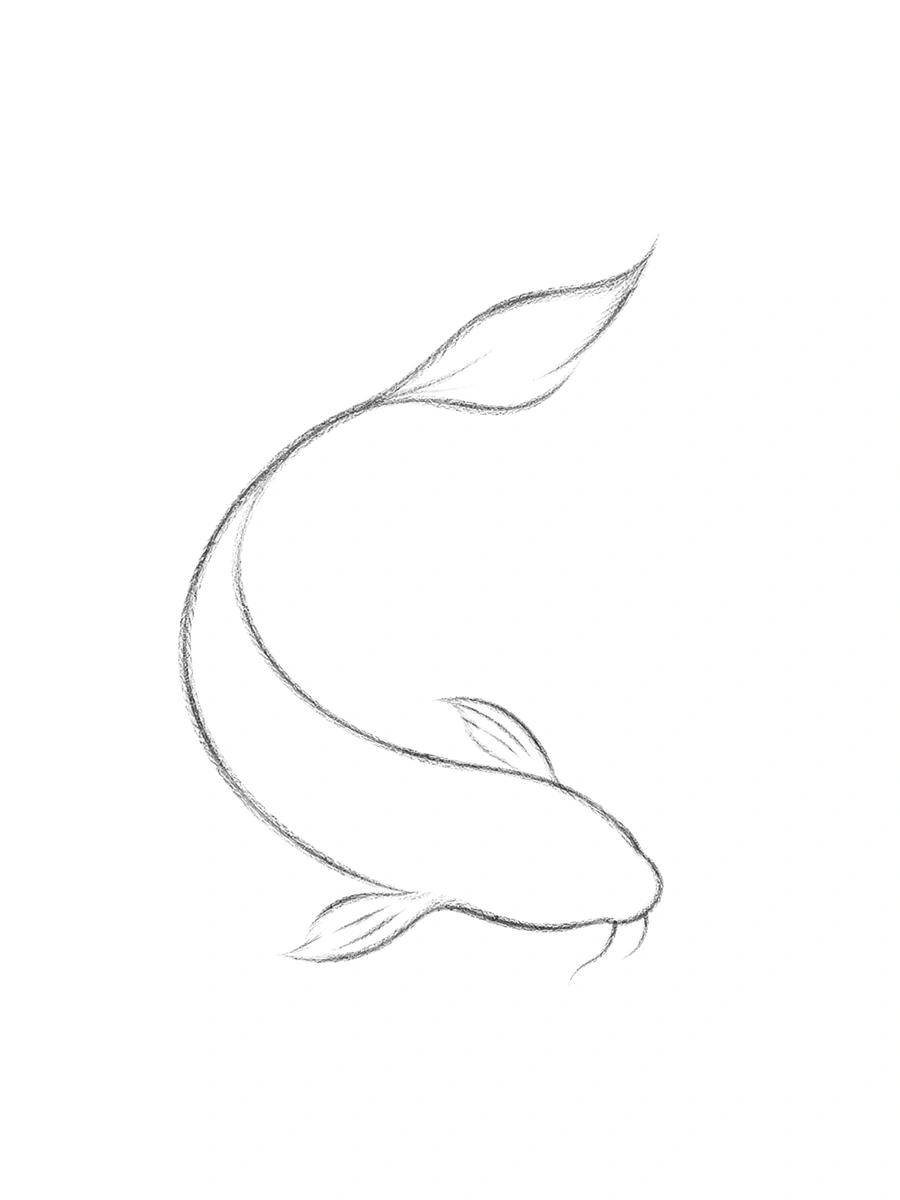
Minimal C-Curve Koi Outline
EasyUse a sparse, continuous outer contour curved in a wide C-shape so the swimming gesture reads in seconds.
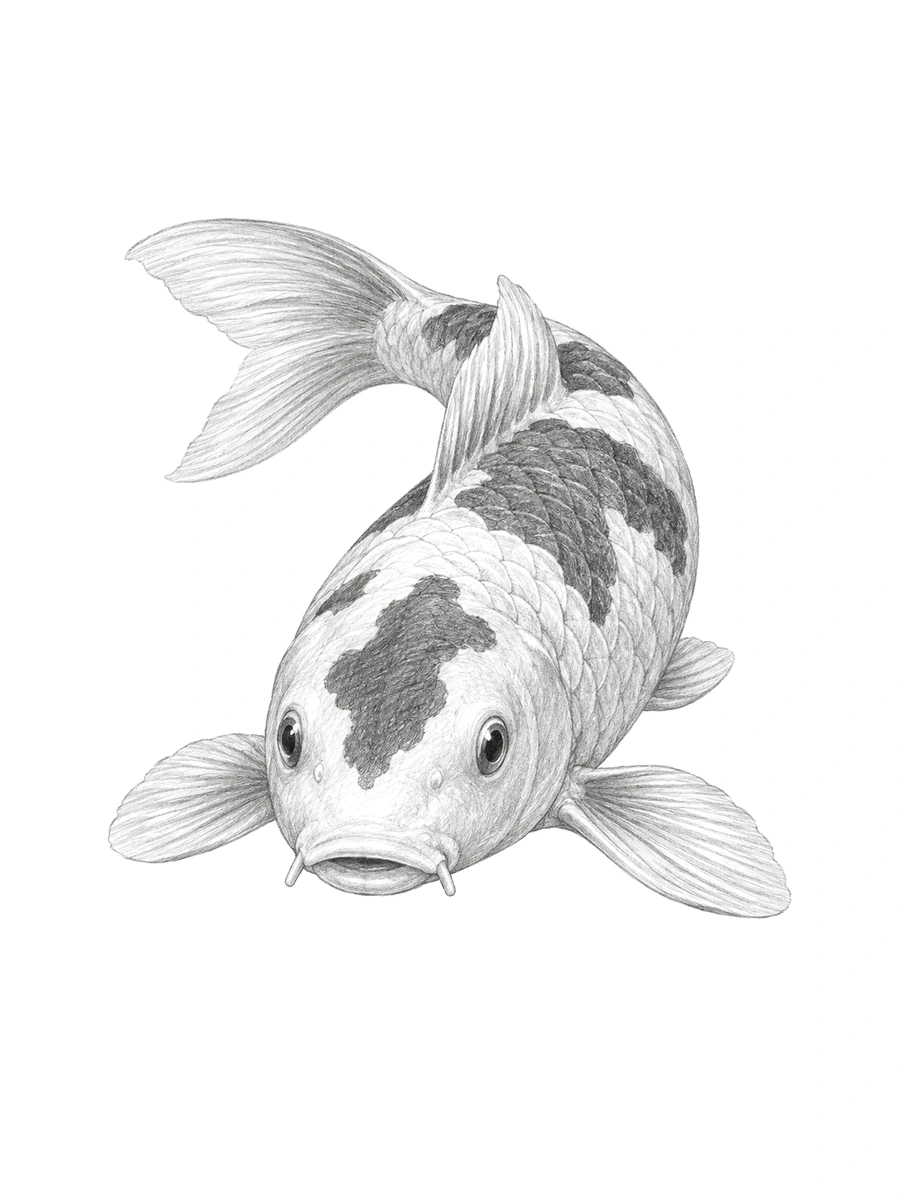
Three-Quarter Swimming Koi
MediumForeshorten the front head oval slightly and flare both side fins outward as the koi turns toward you.
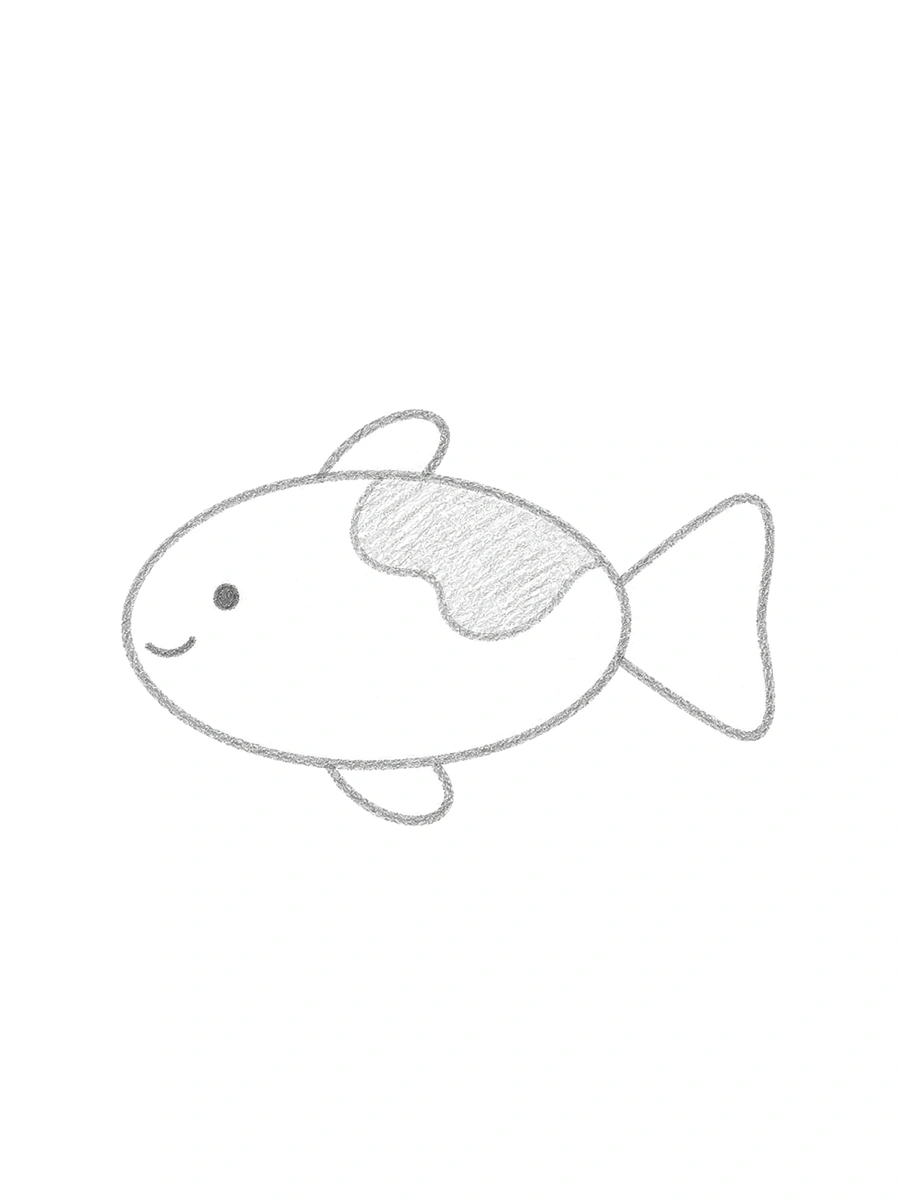
Oval & Triangle Beginner Koi
EasyStart with a simple oval torso and a rounded triangle tail—ideal for younger kids and two-minute warmups.
Two Koi Fish & Yin-Yang Drawings
Practice balanced circular composition with a two koi fish drawing arranged head-to-tail. Each yin yang koi fish drawing uses matching curves and contrasting graphite shading to create natural flow around an open center space.
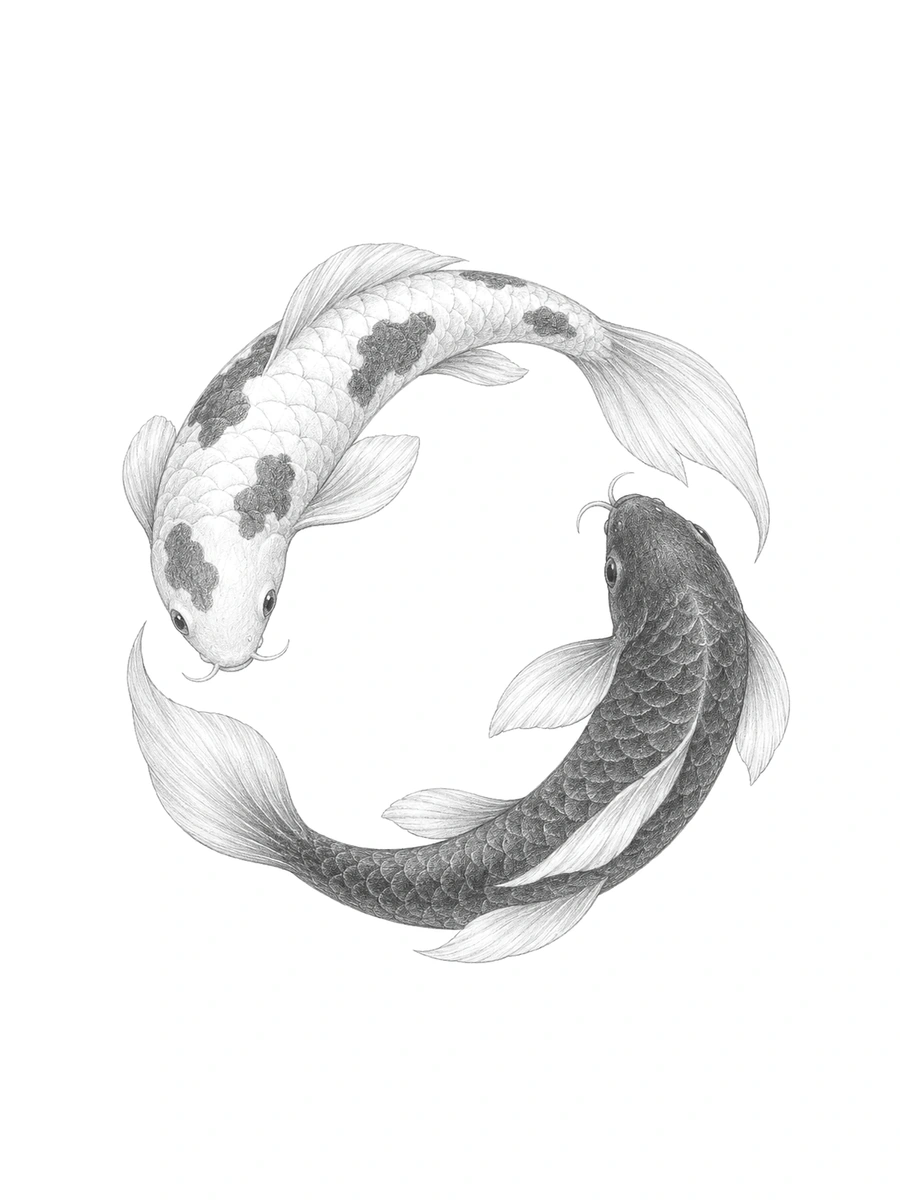
Yin-Yang Circling Koi Pair
MediumTrace a light circle guide first, then nestle one dark graphite koi and one light unshaded koi head-to-tail along the ring.
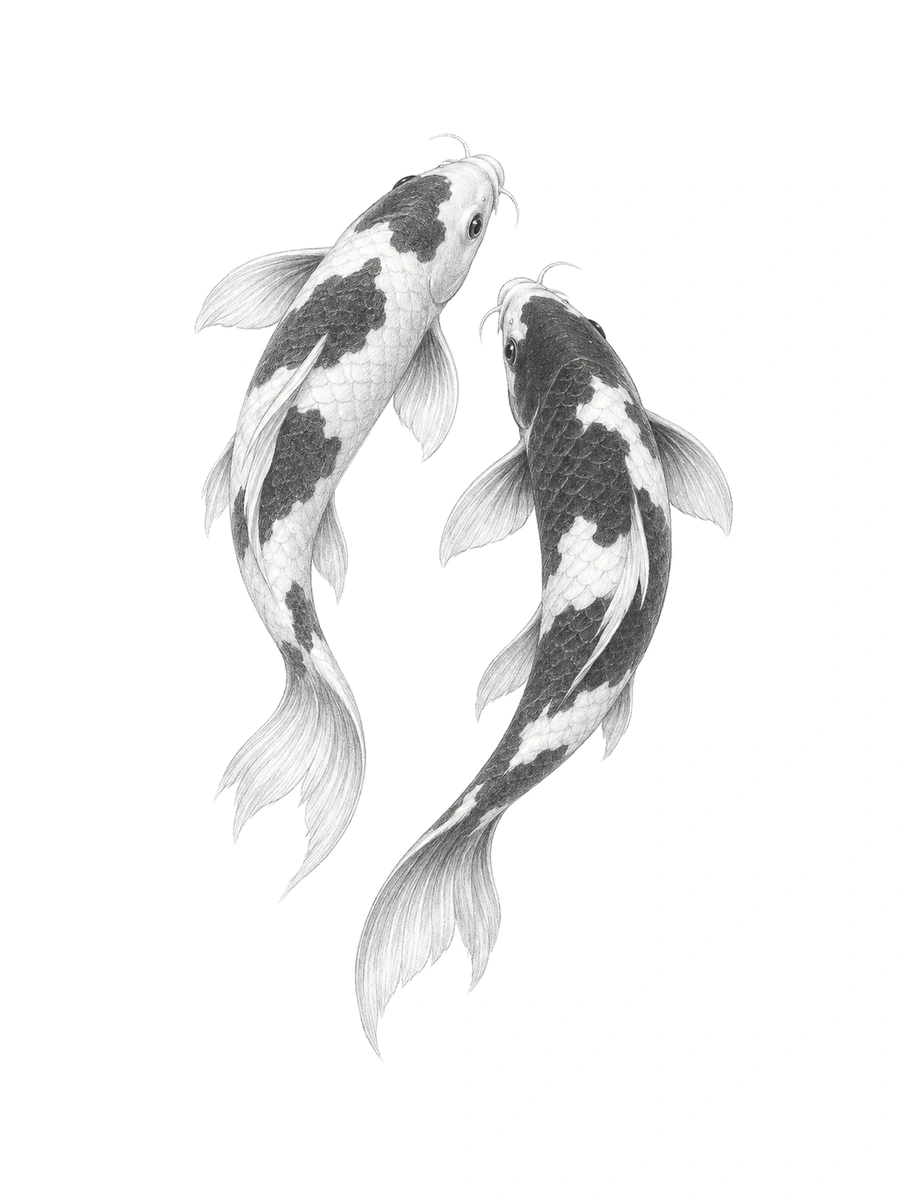
Parallel Swimming Koi Pair
MediumCurve two patterned koi side by side along matching S-spines so both bodies move in the same rhythm.
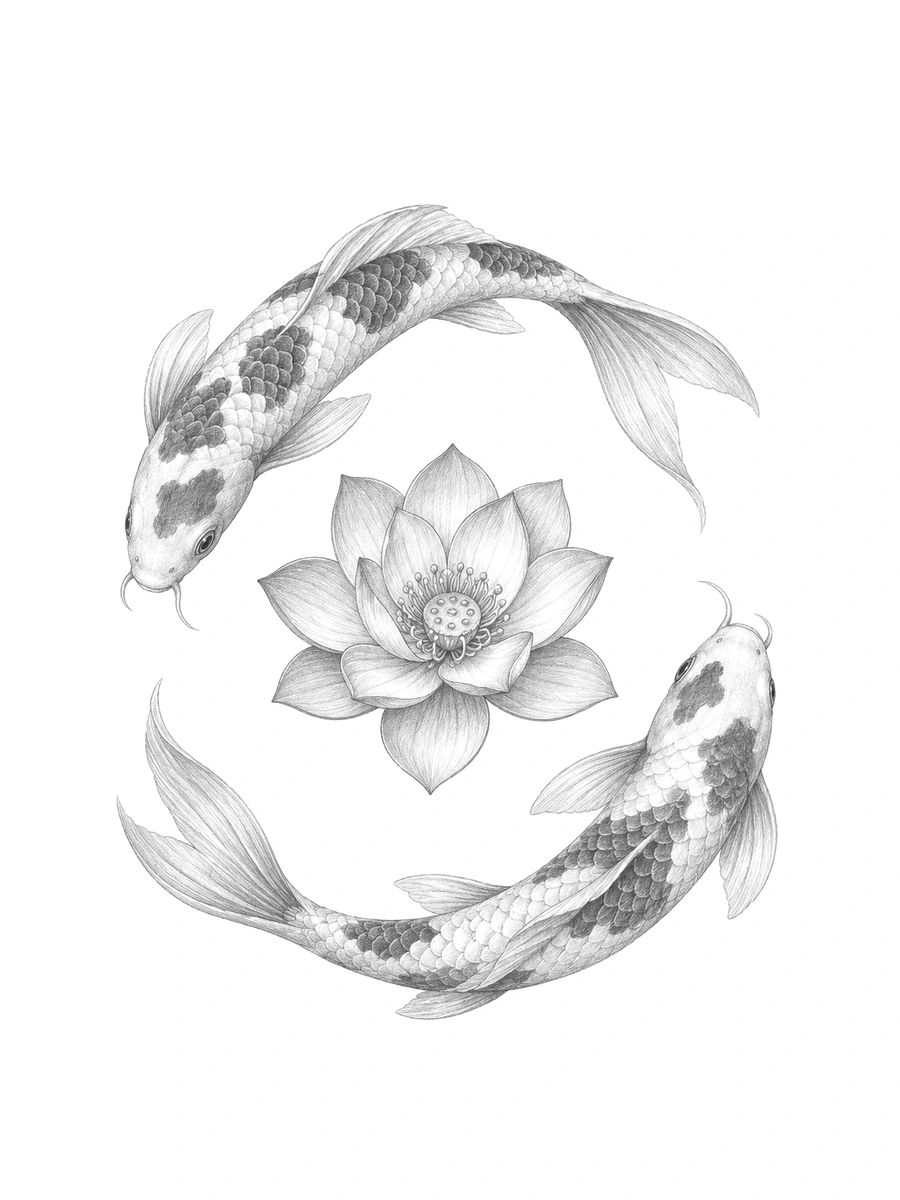
Twin Koi Circling a Lotus
MediumAnchor an open lotus bloom in the center and curve two C-shaped koi symmetrically around its petals.
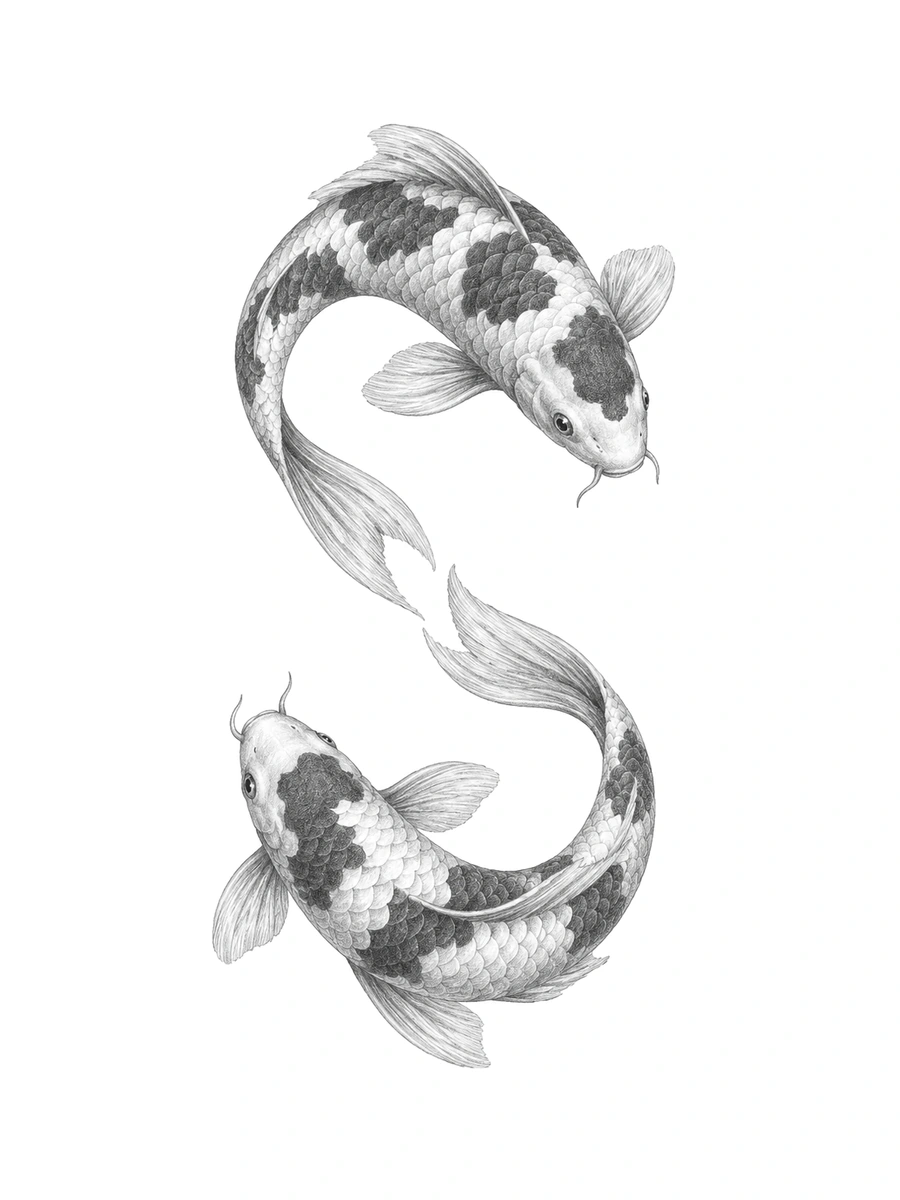
Figure-Eight Twin Koi
HardWeave two swimming koi through a vertical figure-eight loop, letting their flowing tails cross near the center.
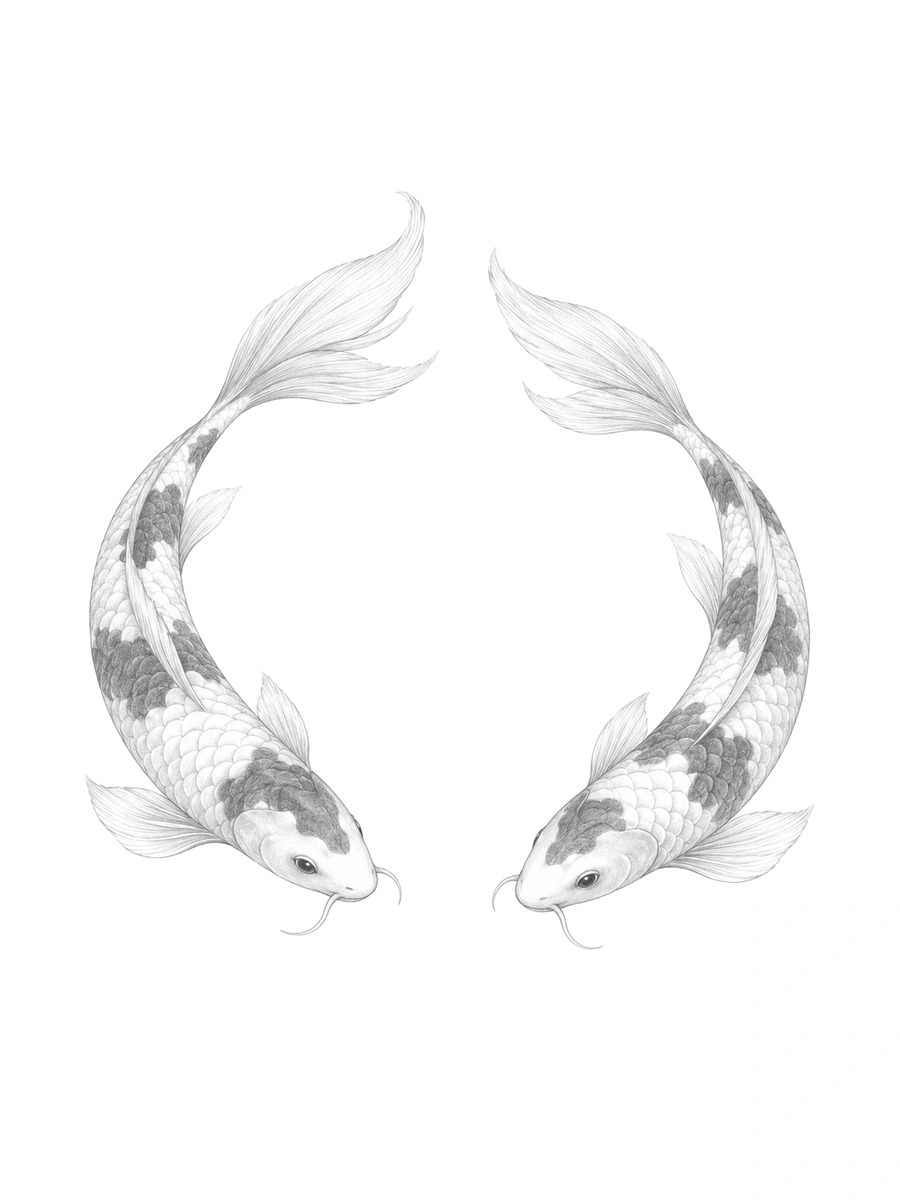
Mirrored Koi Pair Outline
EasyArch two matching C-curved koi facing inward to frame a clean oval of open white space in the middle.
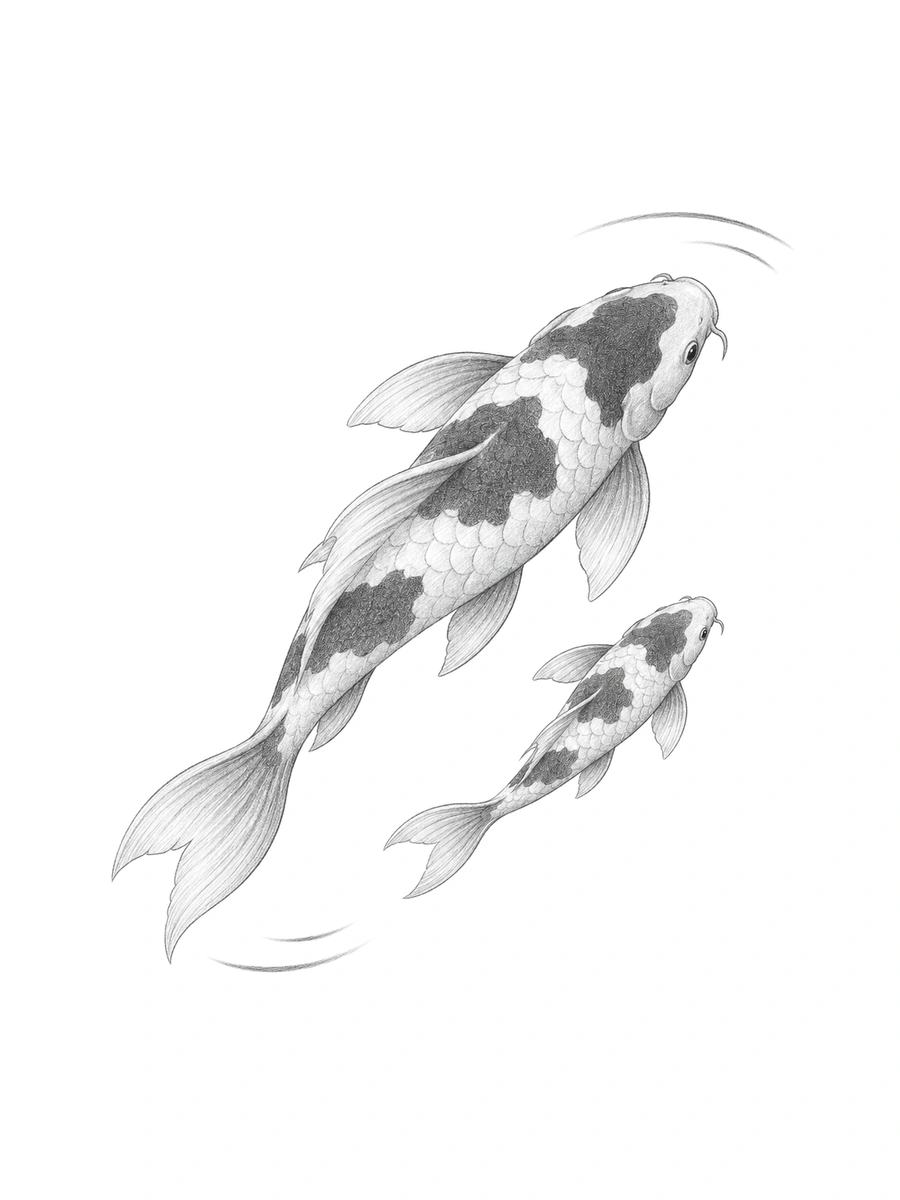
Large and Small Koi Duo
MediumPair a full-grown spotted koi with a smaller companion swimming alongside broken concentric water ripples.
Download All Sketches on This Page in One Printable PDF Pack
High-resolution 300 DPI practice sheets, trace-over proportion grids, and clean outlines formatted for standard printer paper.
Japanese & Tattoo Koi Fish Drawings
In Japanese culture, koi symbolize good luck, strength, and perseverance. According to classic folklore, a koi that swims all the way up a rushing waterfall transforms into a dragon, which is why upstream poses are so popular in art and tattoos. These traditional Japanese koi fish drawing references pair bold irezumi-inspired contours with cherry blossoms, lotus flowers, curling waves, and waterfalls while keeping plenty of open white space.
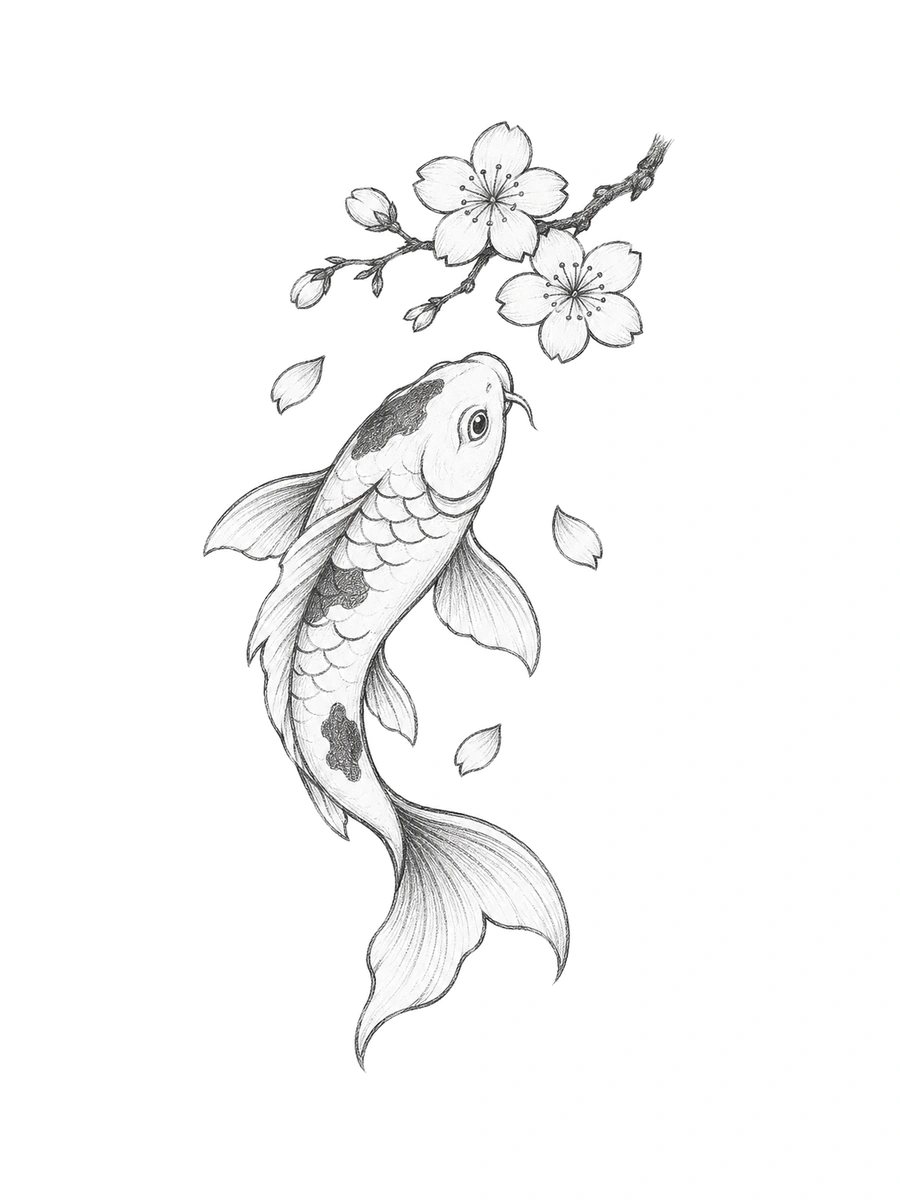
Koi & Cherry Blossom Tattoo
MediumFloat five-petaled sakura blossoms with notched tips above the curved koi to balance bold tattoo contours.
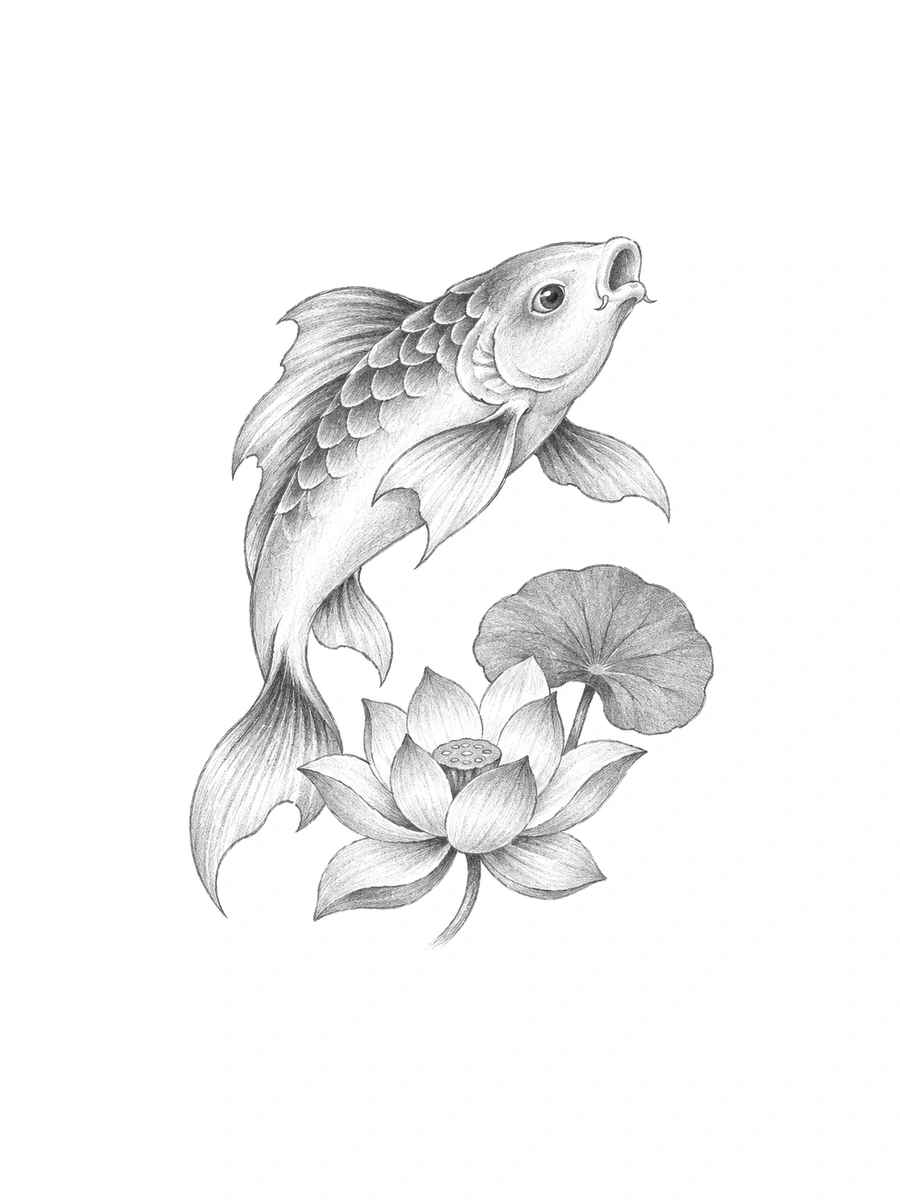
Koi & Lotus Tattoo Design
HardTuck a layered lotus bloom beside the koi's shoulder curve so the pointed petals echo the pectoral fin flare.
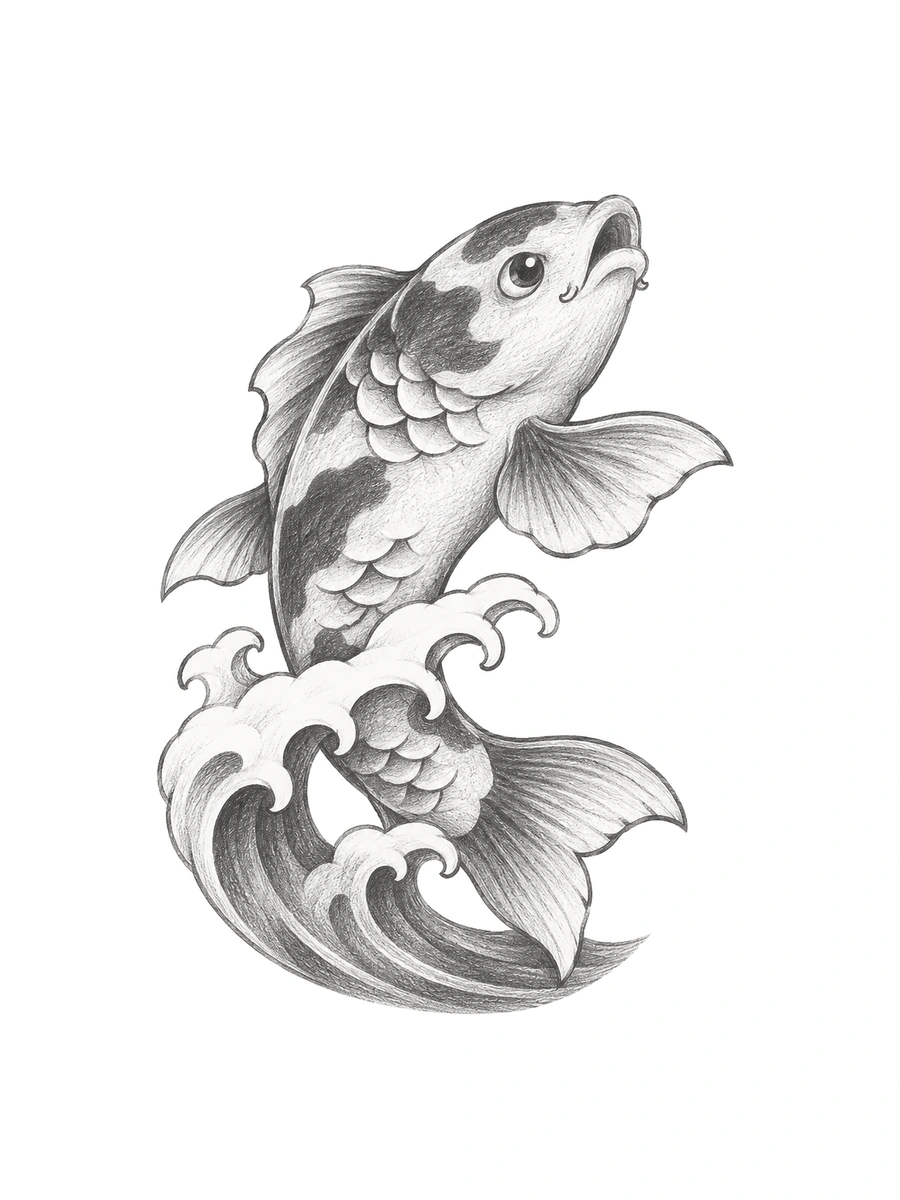
Koi Rising Through Ocean Wave
HardFrame the twisting torso with traditional Japanese finger-wave crests and high-contrast graphite shading.
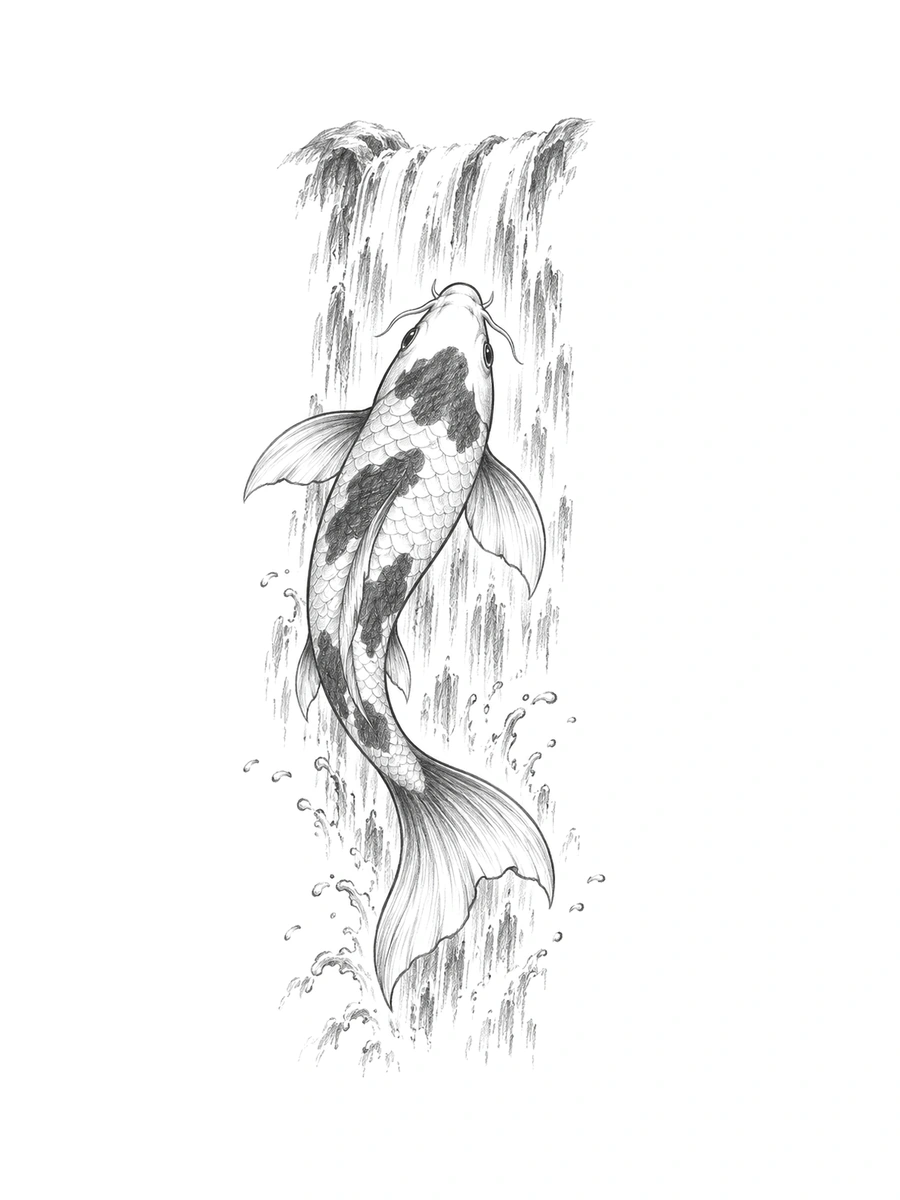
Upstream Waterfall Koi Tattoo
HardAngle the koi vertically upstream and use long vertical strokes and splash arcs to suggest rushing water.
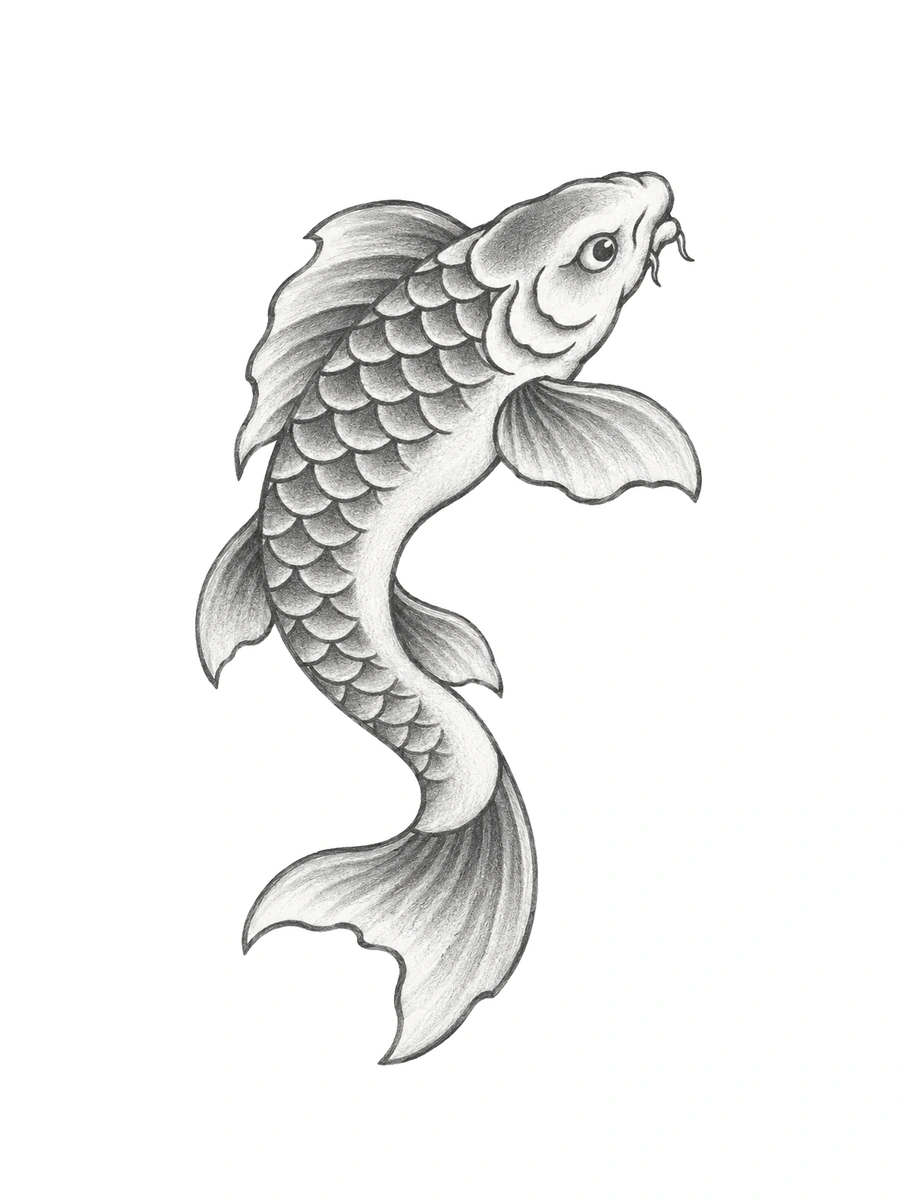
Traditional S-Curve Tattoo Flash
HardDefine overlapping U-shaped scales along the S-curved spine with dark root shading and crisp white rims.
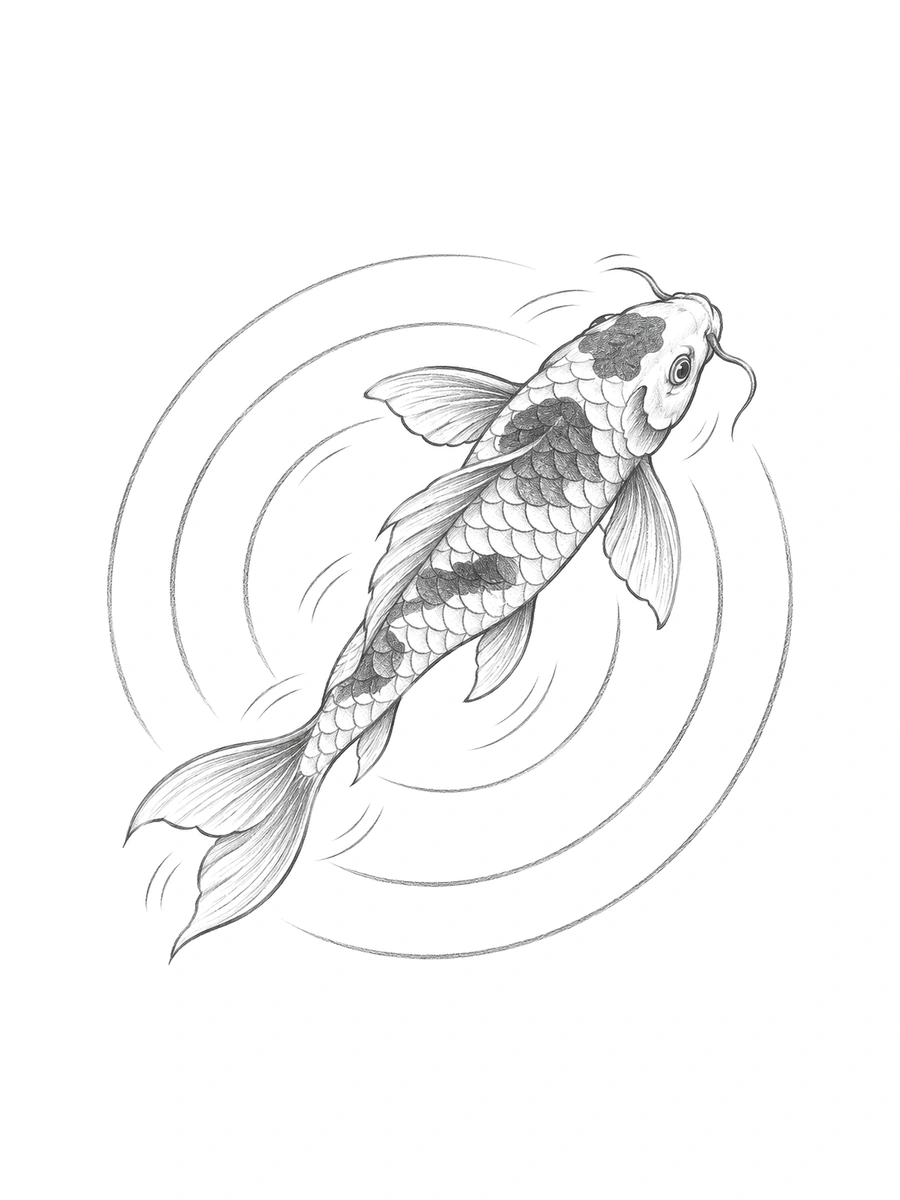
Japanese Koi & Concentric Ripples
MediumCross the swimming koi over thin, evenly spaced concentric water rings for a clean forearm or shoulder layout.
Koi Fish Pond & Realistic Pencil Sketches
Combine swimming koi with lily pads, pebbles, and concentric water rings in a complete koi fish pond drawing. This section mixes pure graphite studies with three light colored-pencil and watercolor-wash references, so you can practice both soft pencil shading and classic orange, red, and black calico markings.
Compare koi proportions with goldfish, bettas, and anglerfish on our main fish drawing page.
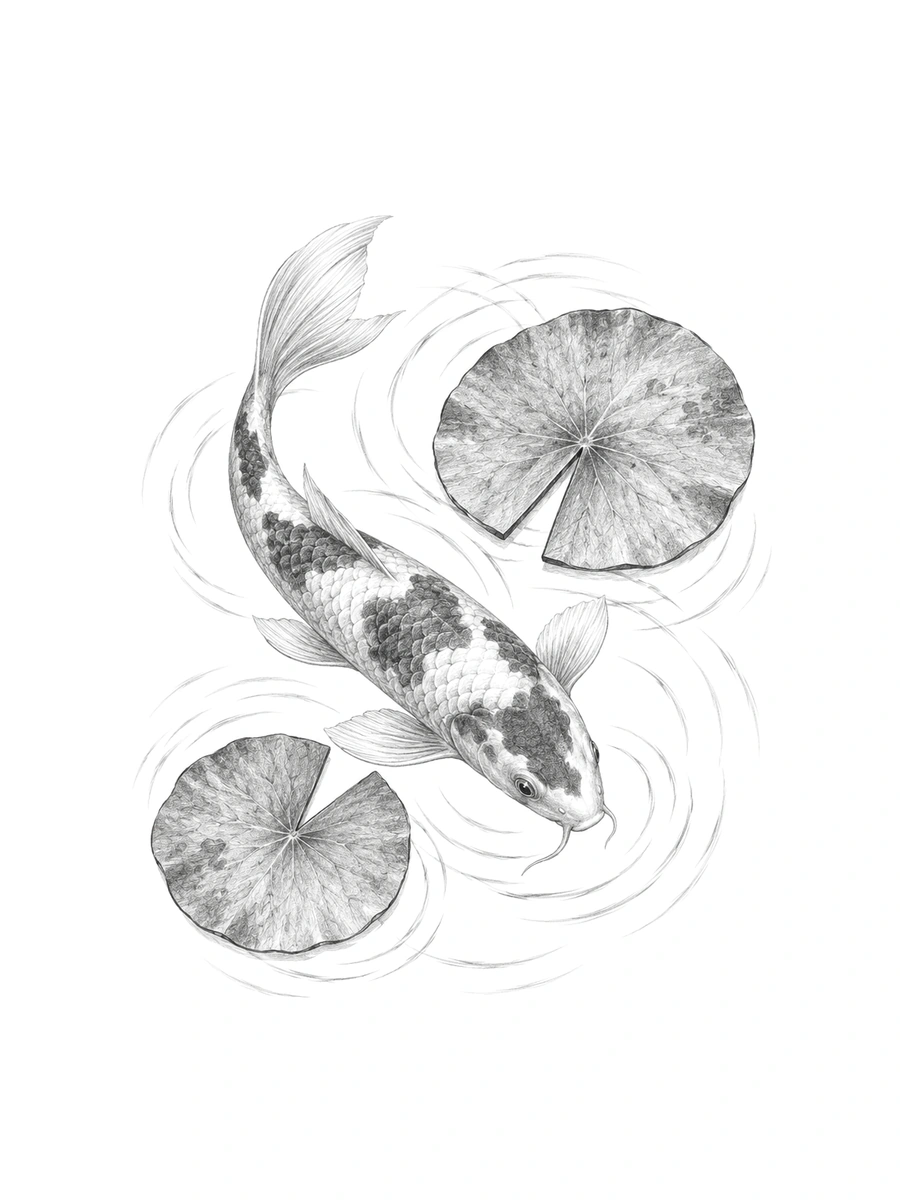
Koi Pond with Lily Pads
MediumDraw the two notched lily pads first, then glide a shaded graphite koi smoothly through the channel between them.
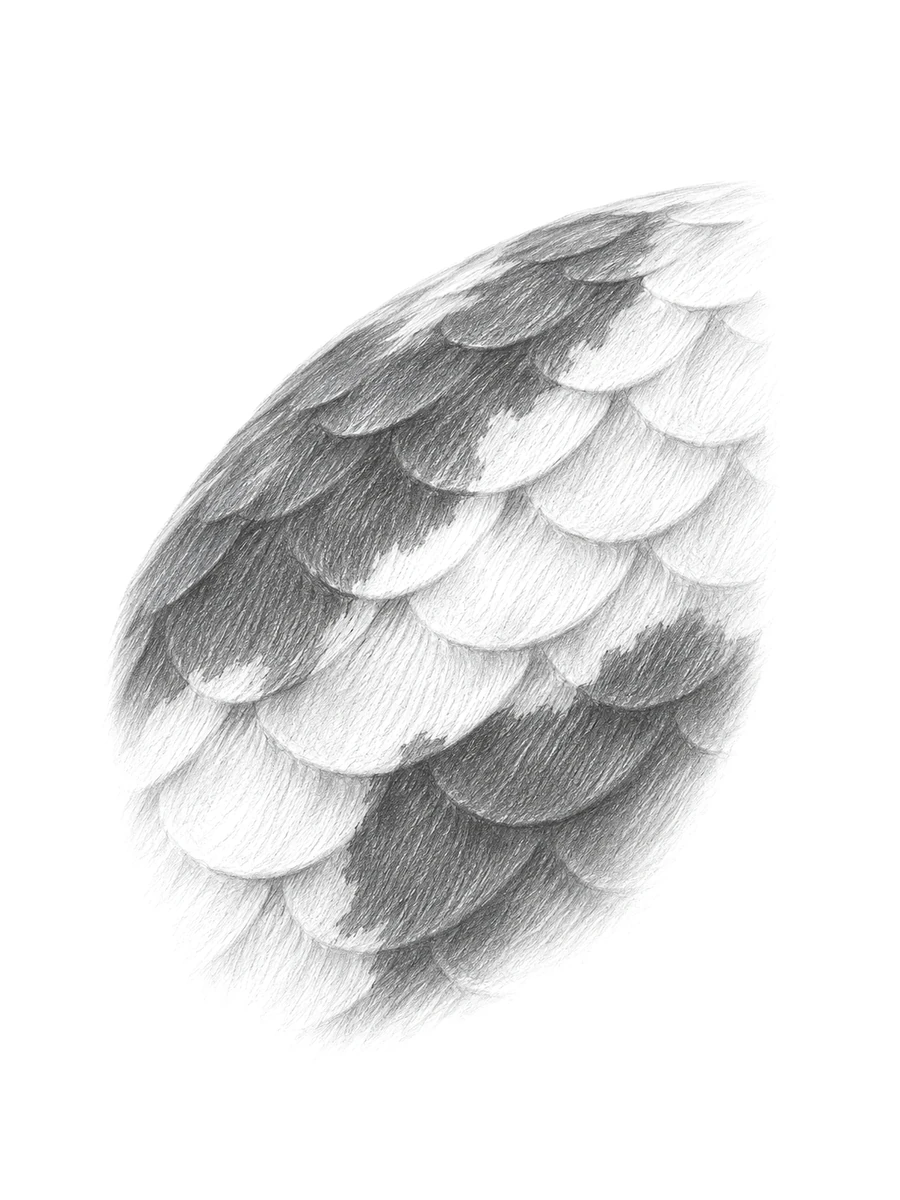
Overlapping Koi Scale Close-Up
HardPractice staggered rows of curved U-scales, shading dark at each scale pocket and fading toward the outer rim.
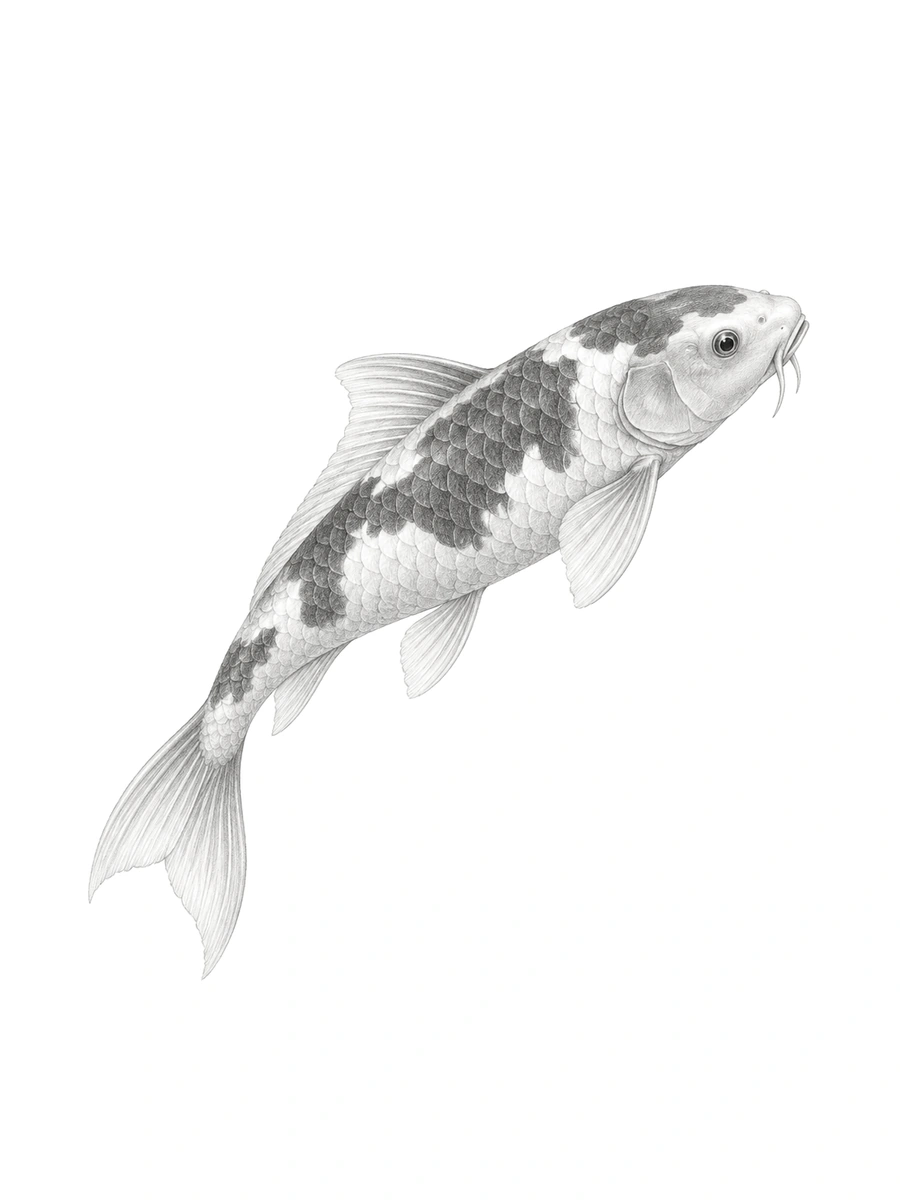
Realistic Side-Profile Shaded Koi
HardKeep the upper dorsal ridge darkest and fade your 2B pencil strokes into a bright, unshaded lower belly.
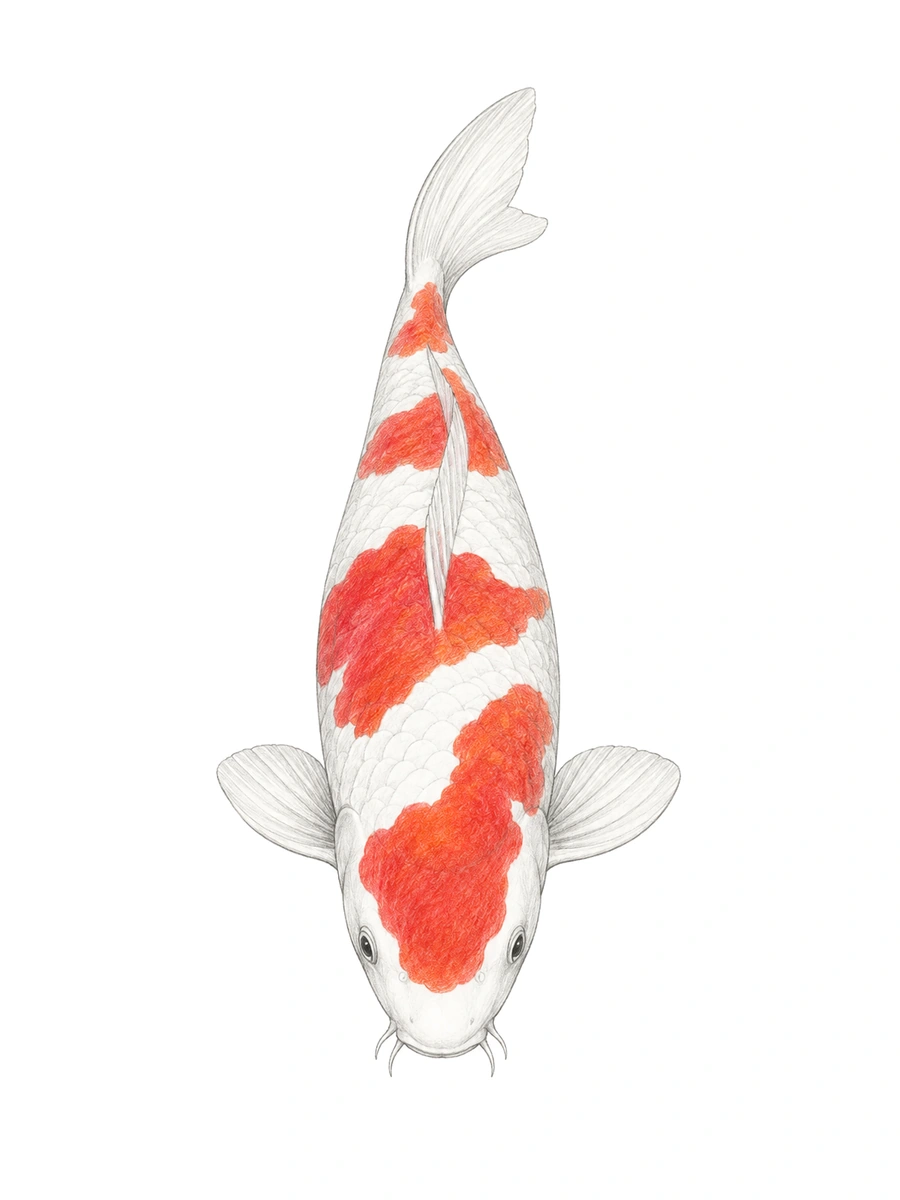
Red & White Kohaku (Colored Pencil)
MediumLayer warm red-orange colored pencil inside the dorsal patches while keeping the surrounding white body crisp.
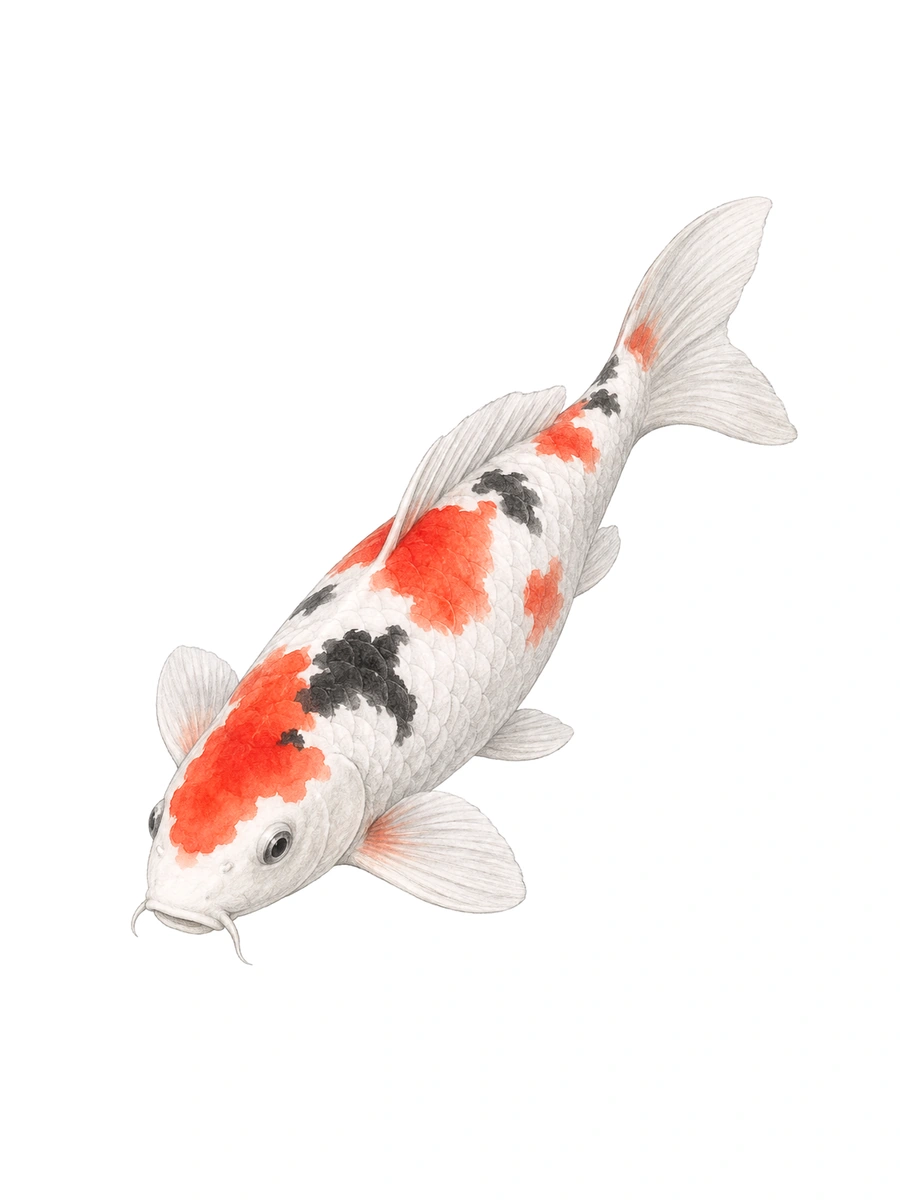
Tricolor Sanke Koi (Watercolor Wash)
HardPair a translucent red-orange watercolor wash with ink-black sumi spots over a clean graphite pencil underdrawing.
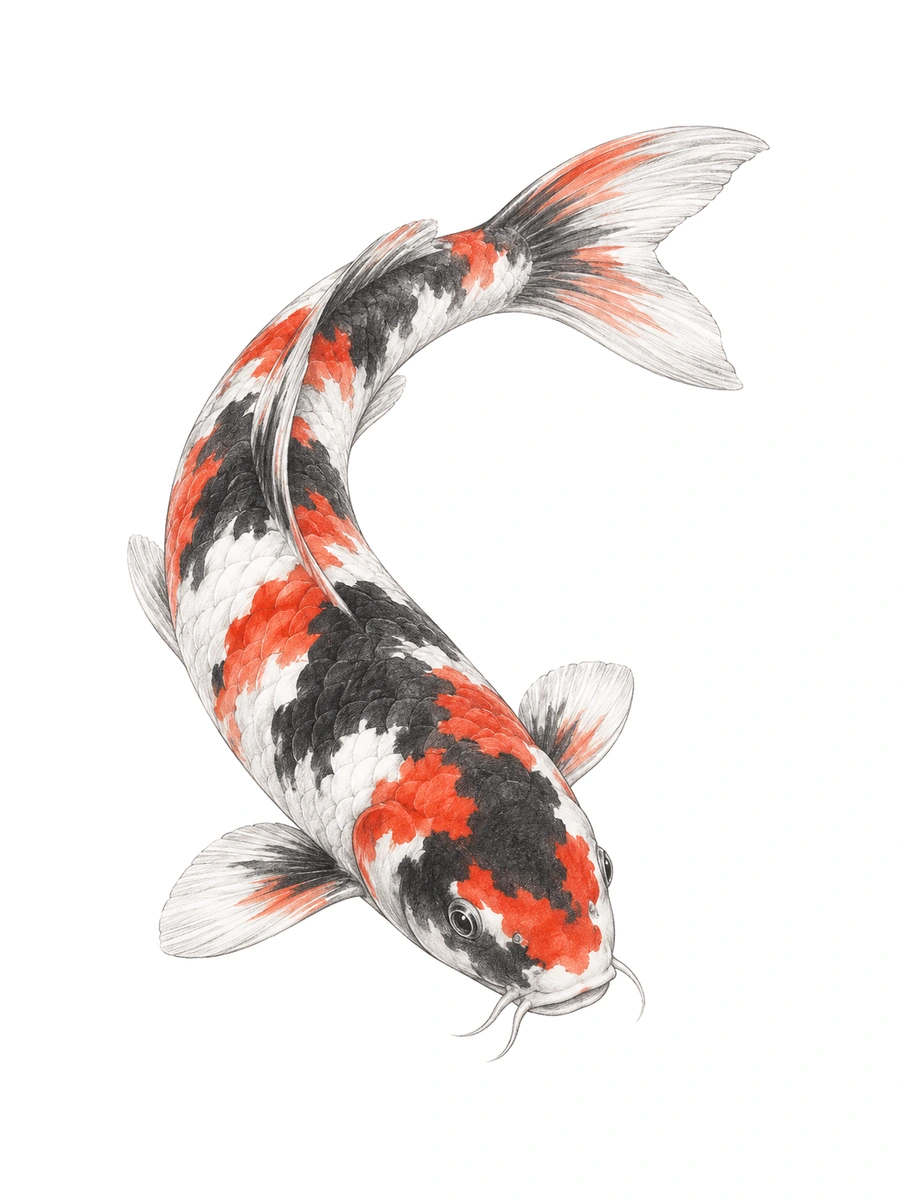
Showa Calico Koi (Watercolor & Pencil)
HardBalance bold dark head and body markings with warm red accents along a sweeping C-curved koi silhouette.
Download All Sketches on This Page in One Printable PDF Pack
High-resolution 300 DPI practice sheets, trace-over proportion grids, and clean outlines formatted for standard printer paper.
Where to Use These Koi Fish Drawings
Tattoo Flash and Placement Planning
Test wrist, forearm, and shoulder layouts using bold irezumi-inspired silhouettes and yin-yang pairs. High-contrast graphite lines make it easy to check scale and flow before finalizing ink work.
Sketchbooks and Bullet Journal Covers
Use a twin koi circle or a simple top-down outline to frame monthly cover pages and notebook dividers. Light pencil ripples fill empty margins quickly without crowding your text.
Watercolor and Coloring Practice
Print any clean koi fish drawing outline on heavy paper to practice orange, red, and ink-black calico patterns. Open body shapes give you room to blend watercolors or colored pencils cleanly.
Framed Wall Art and Greeting Cards
Pair a cherry blossom koi or lotus pond sketch with handmade cardstock for minimalist art prints and cards. Clean white-background pencil drawings photocopy sharply for quick DIY gifts.
Why Most Koi Drawings Look Flat
- Start With a Spine Curve, Not an Oval: Drawing a straight torpedo shape makes a koi look rigid. Always lay down a sweeping C-curve or S-curve first.
- Keep the Dorsal Fin Centered on the Curve: Let the narrow top fin follow the exact bend of the spine so the viewer reads the twist of the body.
- Leave White Space for Calico Patterns: Avoid shading every scale. Leaving large bright patches between dark graphite spots gives koi their signature high-contrast look.
Download All Sketches on This Page in One Printable PDF Pack
High-resolution 300 DPI practice sheets, trace-over proportion grids, and clean outlines formatted for standard printer paper.
Frequently Asked Questions
Where do you start when drawing a koi fish?
Start a koi fish drawing with a curved center spine line shaped like a C or an S. Building the head, torso, and tail around that single curve keeps the fish looking fluid instead of flat.
How do you draw a yin-yang koi fish pair evenly?
Draw a light circle first, then place two matching C-curves inside the ring with each head pointing toward the other fish's tail. Keeping both bodies the same width creates a balanced yin-yang silhouette.
What background elements go best with a traditional Japanese koi drawing?
Traditional Japanese koi drawings pair best with curling waves, cherry blossoms, lotus flowers, or an upstream waterfall. Sketch the koi silhouette first, then tuck these elements around the curves so the fish stays the clear focal point.
How do you draw koi fish scales without cluttering the sketch?
Group five to eight shallow U-shaped scale arcs along the wider middle back and near the tail base. Leaving the rest of the body open for spotted markings keeps the pencil sketch clean.
What makes a koi fish look different from a goldfish in a drawing?
A koi fish has a longer, slimmer torpedo body and two small whiskers called barbels near its mouth. Goldfish usually have rounder bellies and oversized, veil-like tail fins.
How do you add water ripples around a koi fish drawing?
Draw broken concentric arcs around the head and sweeping curved lines trailing behind the tail fin. Keeping the ripple lines lighter than the fish outline makes the koi stand out from the water.
What pencils work best for a realistic koi fish drawing?
Use a sharp HB pencil for the initial spine curve, fin rays, and light scale arcs, then switch to a 2B pencil to darken the spotted markings and inner shadows beneath the fins.